Payment for the
Passport fee.
You need a Money Order for
payment. Most Post Offices can create this for you. If not,
we'll tell you where to get one.
Bring cash for these amounts:
For Comfort Service:
-
Get a Money Order at
the Post Office (or we'll tell you where)
-
$160 Money Order
payable to
"US Department of State"
(bring $160 cash)
-
$35 USD will be paid
directly at the facility (Can be paid by cash or credit
card)
For Comfort Plus Service:
-
Get a Money Order at
the Post Office (or we'll tell you where)
-
$182.05 Money Order payable
to
"US Department of State"
(confirm amount with us first)
-
$35 paid at the facility
(cash or credit card to use the facility)
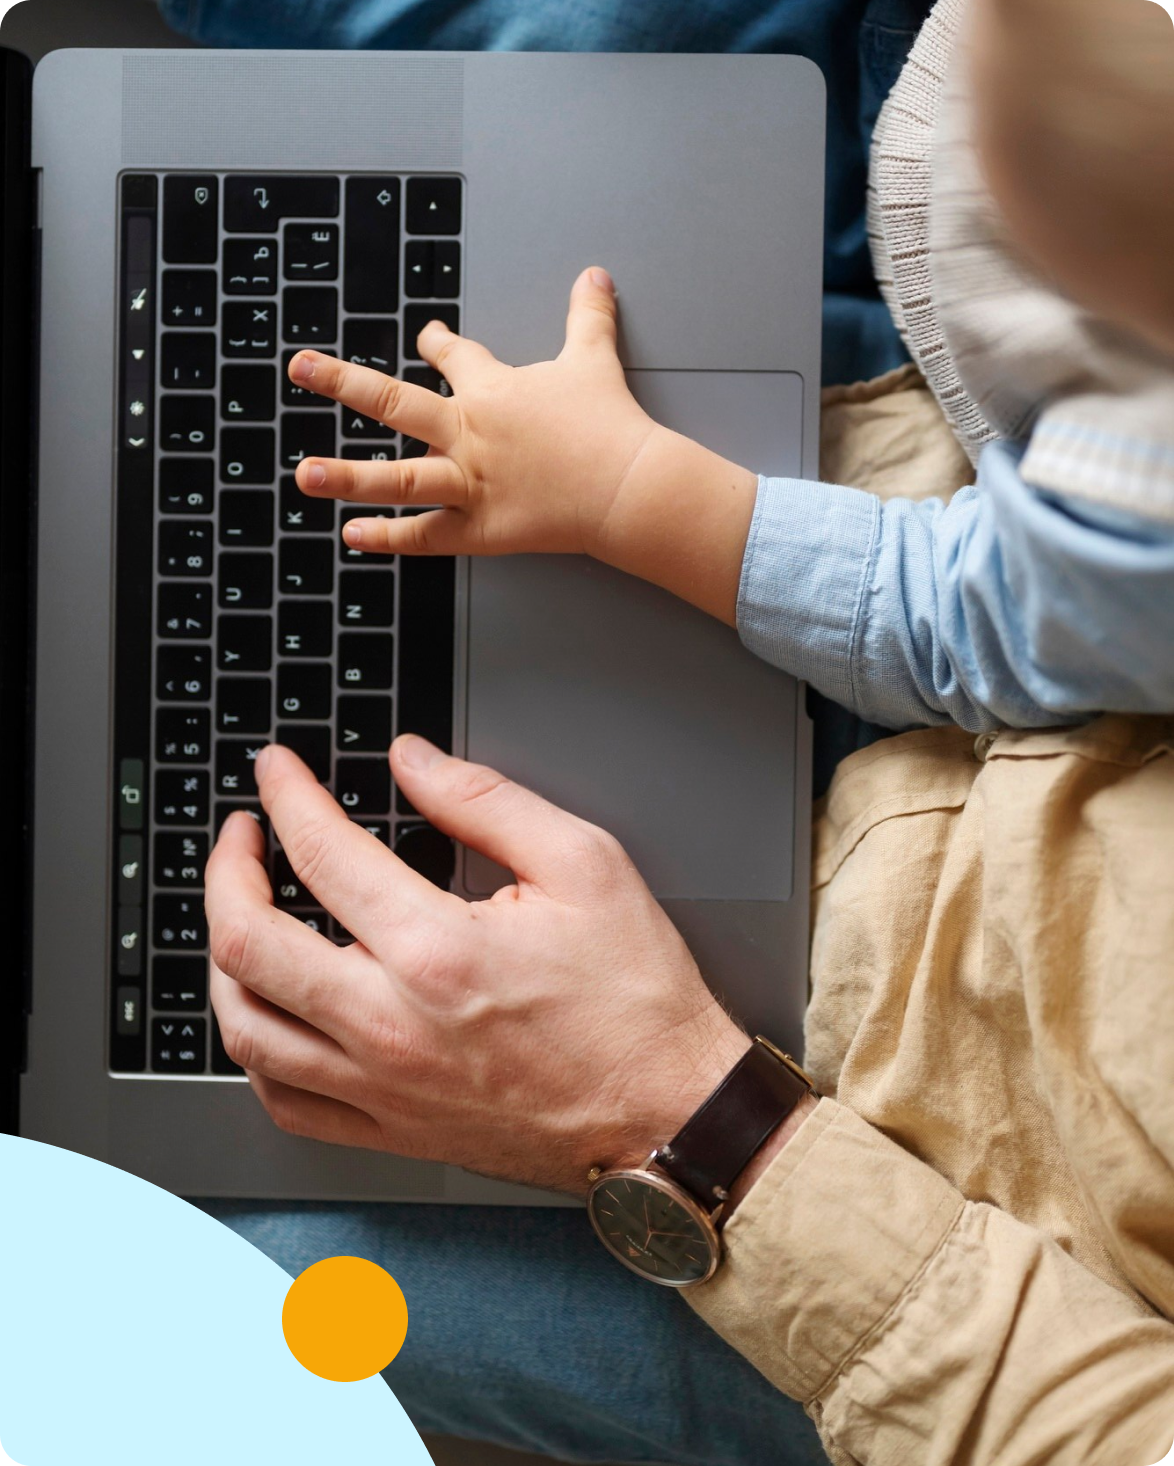
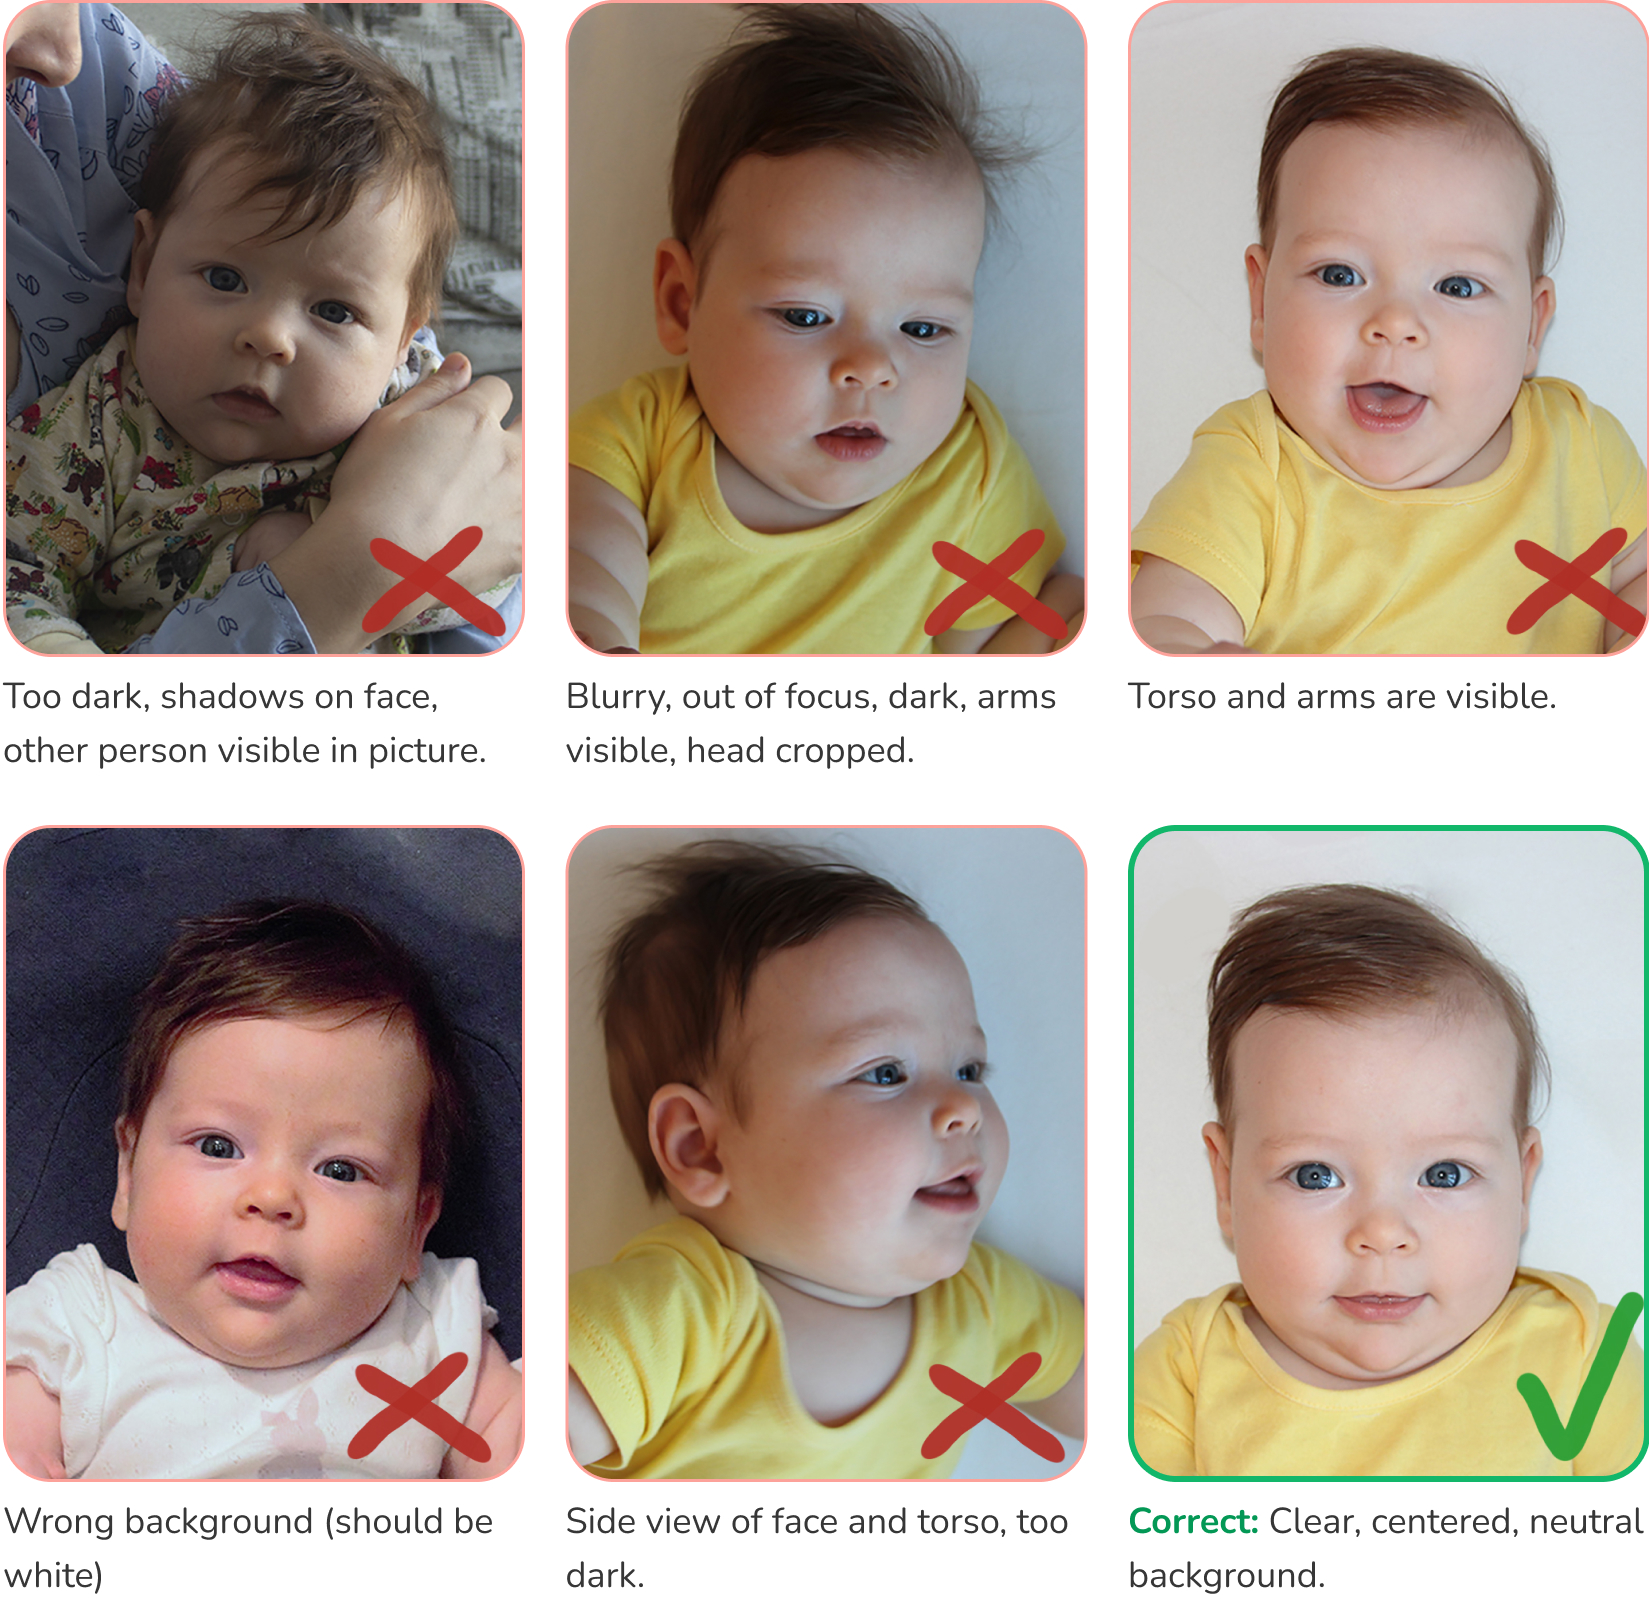
Baby passport photos
(printed)
Baby's original birth certificate
(no apostille needed - you will get it back with the
passport)
1 photocopy of baby's birth certificate
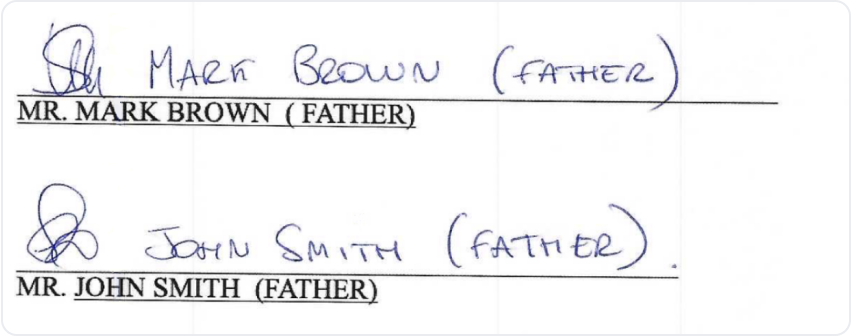
Each parent's passport
(originals)
Photocopies of each parent's passport
(front and back pages)
Letter of authorization
(printed and signed - see Step 3)
- The officer will put the original in a sealed envelope
- Before your appointment: scan the signed letter and email it
to
passport@surroplans.com
Statement letter for no SSN
(printed and signed - see Step 3)
- The officer will put the original in a sealed envelope
- Before your appointment: scan the signed letter and email it
to
passport@surroplans.com
DS-11 form
(print single-sided, in color - DO NOT sign - you'll sign
at the appointment)
Baby's flight ticket or reservation
(must show flight number and baby's name).

Important: This list may
change. We will tell you the exact documents needed when we
schedule your appointment.